
Video Gear
Ninja - Video Kit
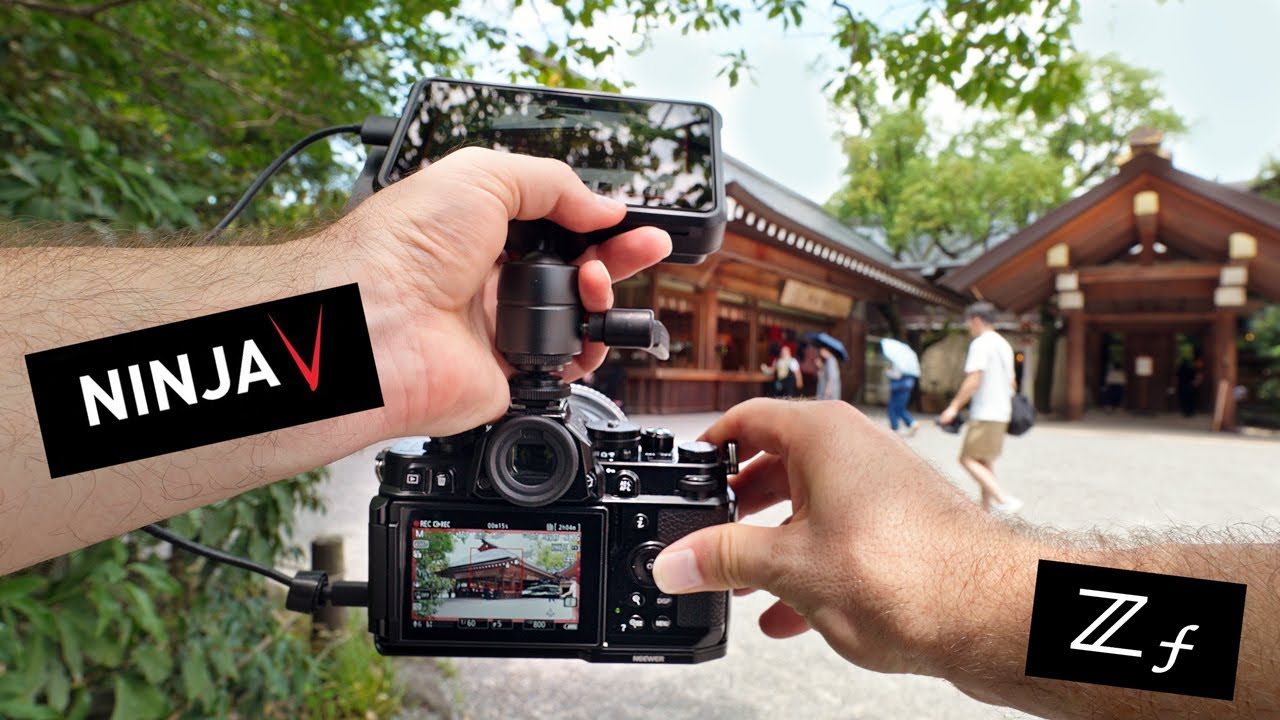
This page documents the complete Atomos Ninja-based video setup I use alongside the Nikon Z8 for wildlife filming. It covers power configuration, recording media, mounting hardware, cable management, and the field workflow considerations that shape how the system is used in practice.
Some links on this page are affiliate links to third-party retailers. If you click one of these links and make a purchase, I may earn a small commission at no additional cost to you. Any purchase is completed on the retailer’s own website.
The Atomos Ninja forms the core of my external monitoring and recording system. Its bright, high-resolution 5-inch display allows for more accurate judgement of exposure, fine detail, and critical focus than the camera’s rear screen, particularly in low light or high-contrast conditions.
Tools such as focus peaking, waveform monitoring, and exposure overlays are part of my standard preparation before recording any sequence. These features reduce guesswork and improve consistency, especially when working with long lenses and unpredictable wildlife behaviour.
For recording, I use a 2TB Samsung 870 EVO SSD inside the Atomos Master Caddy. This provides reliable, high-capacity storage suited to extended 4K recording sessions and efficient data handling in the field.
What Comes in the Box:
The standard retail package includes the following core components:
• Ninja 5-inch monitor-recorder
• 1 × Atomos Master Caddy II
• Basic AC mains power supply
• Quickstart documentation
This package is suitable for studio or desk use but is not configured for fieldwork. It does not include batteries, chargers, SSDs, mounting hardware, or HDMI cables. For wildlife filming and extended outdoor sessions, additional power, media, and mounting components are required.
Additional Accessories I Use
To convert the Ninja into a reliable, field-ready monitoring and recording system, I have added the following components.
Power
Includes two NP-F batteries, a fast charger, a D-Tap cable, and a protective case. This kit provides dependable power during extended hide sessions, reducing interruptions caused by battery changes.
USB-C Power Delivery Cable (PD 3.1, 240 W, USB-C to USB-C)
Used to power my Nikon Z8 directly from a USB-C PD power bank. This supports continuous operation and allows in-camera charging during extended wildlife sessions and timelapse work.
SmallRig VB99 SE Mini V-Mount Battery (4608)
A compact 99Wh V-mount battery used to power monitors, recorders and accessories during extended video sessions. Its small form factor keeps rig balance manageable while still providing sufficient output for field use. Multiple outputs including D-Tap and USB-C allow flexible power distribution, reducing the need for separate batteries and simplifying cable management on location.
Media and Data
This drive serves as the primary recording medium inside the Atomos caddy. Its capacity and reliability make it well suited to extended 4K recording sessions.
Angelbird USB-C to SATA Adapter
A fast and reliable adapter for transferring footage from the SSD to a computer. It supports quick backups and efficient file management at the end of a session. also assisting firmware updates.
Mounting and Rigging
SmallRig Camera Cage for Nikon Z8 (3940)
A rigid, anti-twist camera cage that provides a stable and well-balanced mounting platform for accessories. It improves overall handling by distributing weight more evenly, while also offering physical protection for the camera body during regular field use. Multiple mounting points allow accessories to be positioned cleanly without compromising access to controls.
The integrated Arca-Swiss base simplifies tripod mounting and makes it easy to move between support systems without reconfiguring the setup. In practice, the cage adds confidence and consistency when working with a monitor attached, particularly during longer sessions from a fixed position.
SmallRig Night Eagle Cage Kit for Nikon Z 8 - 4317
The SmallRig 4317 Night Eagle Cage Kit for Nikon Z8 is a lightweight aluminium support system designed to protect the camera body while expanding mounting versatility for video and hybrid workflows.
Engineered specifically for the Nikon Z8, the precision-fit “Night Eagle” cage provides full access to controls, battery compartment, and ports while adding multiple threaded mounting points for accessories such as monitors, microphones, transmitters, and articulating arms.
The kit includes:
-
Night Eagle full camera cage
-
Ergonomic top handle for improved handheld stability
-
Removable cold shoe mount
-
HDMI and USB-C cable clamp for secure cable management
This modular setup enhances rig stability, protects critical connection points, and creates a robust platform for professional field use.
SmallRig Adjustable Monitor Mount (ARRI-Style, 3/8")
A compact, all-metal monitor mount that provides a secure and dependable connection between the Ninja V and the SmallRig Z8 cage. The ARRI-style locating pin and 3/8" screw interface prevent unwanted rotation once tightened, keeping the monitor correctly aligned throughout a session.
The mount offers smooth tilt and swivel adjustment for precise positioning, then locks down firmly without play. This makes it well suited to field use, where the monitor needs to stay exactly where it is set, even when moving between positions or working from a tripod or hide.
Its straightforward, non-quick-release design prioritises rigidity over speed, which in practice suits wildlife work well. Once set, the monitor remains stable and predictable, allowing attention to stay on observation and framing rather than adjustment.
SmallRig Compact V-Mount Battery Mounting System (4064B)
A sturdy mounting solution for attaching V-Mount batteries to cages and rig frames. This compact plate keeps batteries secure without adding unnecessary bulk, ensuring reliable power placement and clean rig organisation for run-and-gun and studio setups alike.
Cables
HDMI 8K/4K Down-Angled Spiral Cable (50 cm)
A compact, strain-relieving full-size HDMI cable chosen specifically to keep the rig tidy and protected. The down-angled connector routes the cable close to the camera body, reducing leverage on the HDMI port and minimising the risk of accidental disconnection.
The spiral design allows enough flexibility for adjustment while avoiding excess slack. This helps maintain a clean, compact setup, particularly when working from a tripod for extended periods.
Audio
Directional on-camera shotgun microphone used for capturing ambient wildlife sound and close-range audio. Chosen for its low noise floor, strong directionality, and suitability for outdoor field work.
How I Use This Kit in the Field
The technical components above only matter if they improve field performance. In practice, the setup supports my workflow in the following ways:
This monitor-recorder setup plays an important role in my wildlife workflow, particularly when working in low light, static positions, and situations where precision matters more than speed.
Clearer Detail in Low Light
The bright Ninja V screen makes it easier to assess exposure and fine detail in shaded woodland, overcast conditions, and early morning light. In these situations, the rear camera screen can be difficult to judge accurately, especially when subtle tonal differences matter.
Greater Confidence in Focus
Long-lens wildlife work often relies on extremely precise focus, where even small errors can be difficult to spot on a small screen. The larger display and focus tools make fine adjustments easier to see, reducing the likelihood of focus errors before recording begins.
Longer, Uninterrupted Recording
With NP-F batteries powering the monitor and an SSD handling recording, the camera can remain rolling for longer periods without frequent interruptions. This is particularly useful when behaviour unfolds unpredictably and stopping to change media or batteries risks missing key moments.
More Comfortable Monitoring
Mounting the screen securely above the camera provides a more natural and comfortable viewing angle when working from a tripod. This reduces strain during long sessions in hides or static positions, making it easier to stay focused and attentive over extended periods.
Ninja Setup Guides
The videos below provide a clear, practical overview of how to configure and mount the Atomos Ninja. Although the demonstrations use other camera bodies, the setup process is the same for the Nikon Z8. Together, these tutorials illustrate the key parts of the workflow I follow in the field, including mounting the monitor, connecting the HDMI cable, installing and formatting the SSD, checking exposure tools, and preparing the unit for filming.
Monitor Setup and Configuration
This video offers a straightforward walkthrough of the Ninja setup process, including menu navigation, HDMI configuration, SSD installation, and general recorder preparation. The approach shown here mirrors how I prepare the monitor before heading out to film wildlife.
Attaching the Ninja to a Camera
This short demonstration shows how to mount the Ninja V securely onto a mirrorless camera. The workflow is similar to how I attach the monitor to the Nikon Z8, providing a clean and stable setup for filming in hides and woodland environments.
This tutorial provides a useful visual reference for assembling and configuring the Ninja. The mounting method, HDMI connection, power setup, SSD installation, and menu checks shown in the video reflect the process I use before heading out to film wildlife.
View the full Ninja kit image - reference page. Atomos Ninja Kit
How This Setup Fits My Workflow
This Ninja-based configuration allows me to monitor, record, and manage video more reliably in the field. As video becomes a more integrated part of my wildlife work, this setup provides consistency and confidence during long sessions.
Continue Exploring
Watch Bird Field Observations
View Bird Photography
Back to Gear & Workflow

All Videos